

 English
 Français
 Italiano
 Deutsch
 Español
 Русский
 Čeština
 Polski
 Türkçe
 简体中文
简体中文 日本語
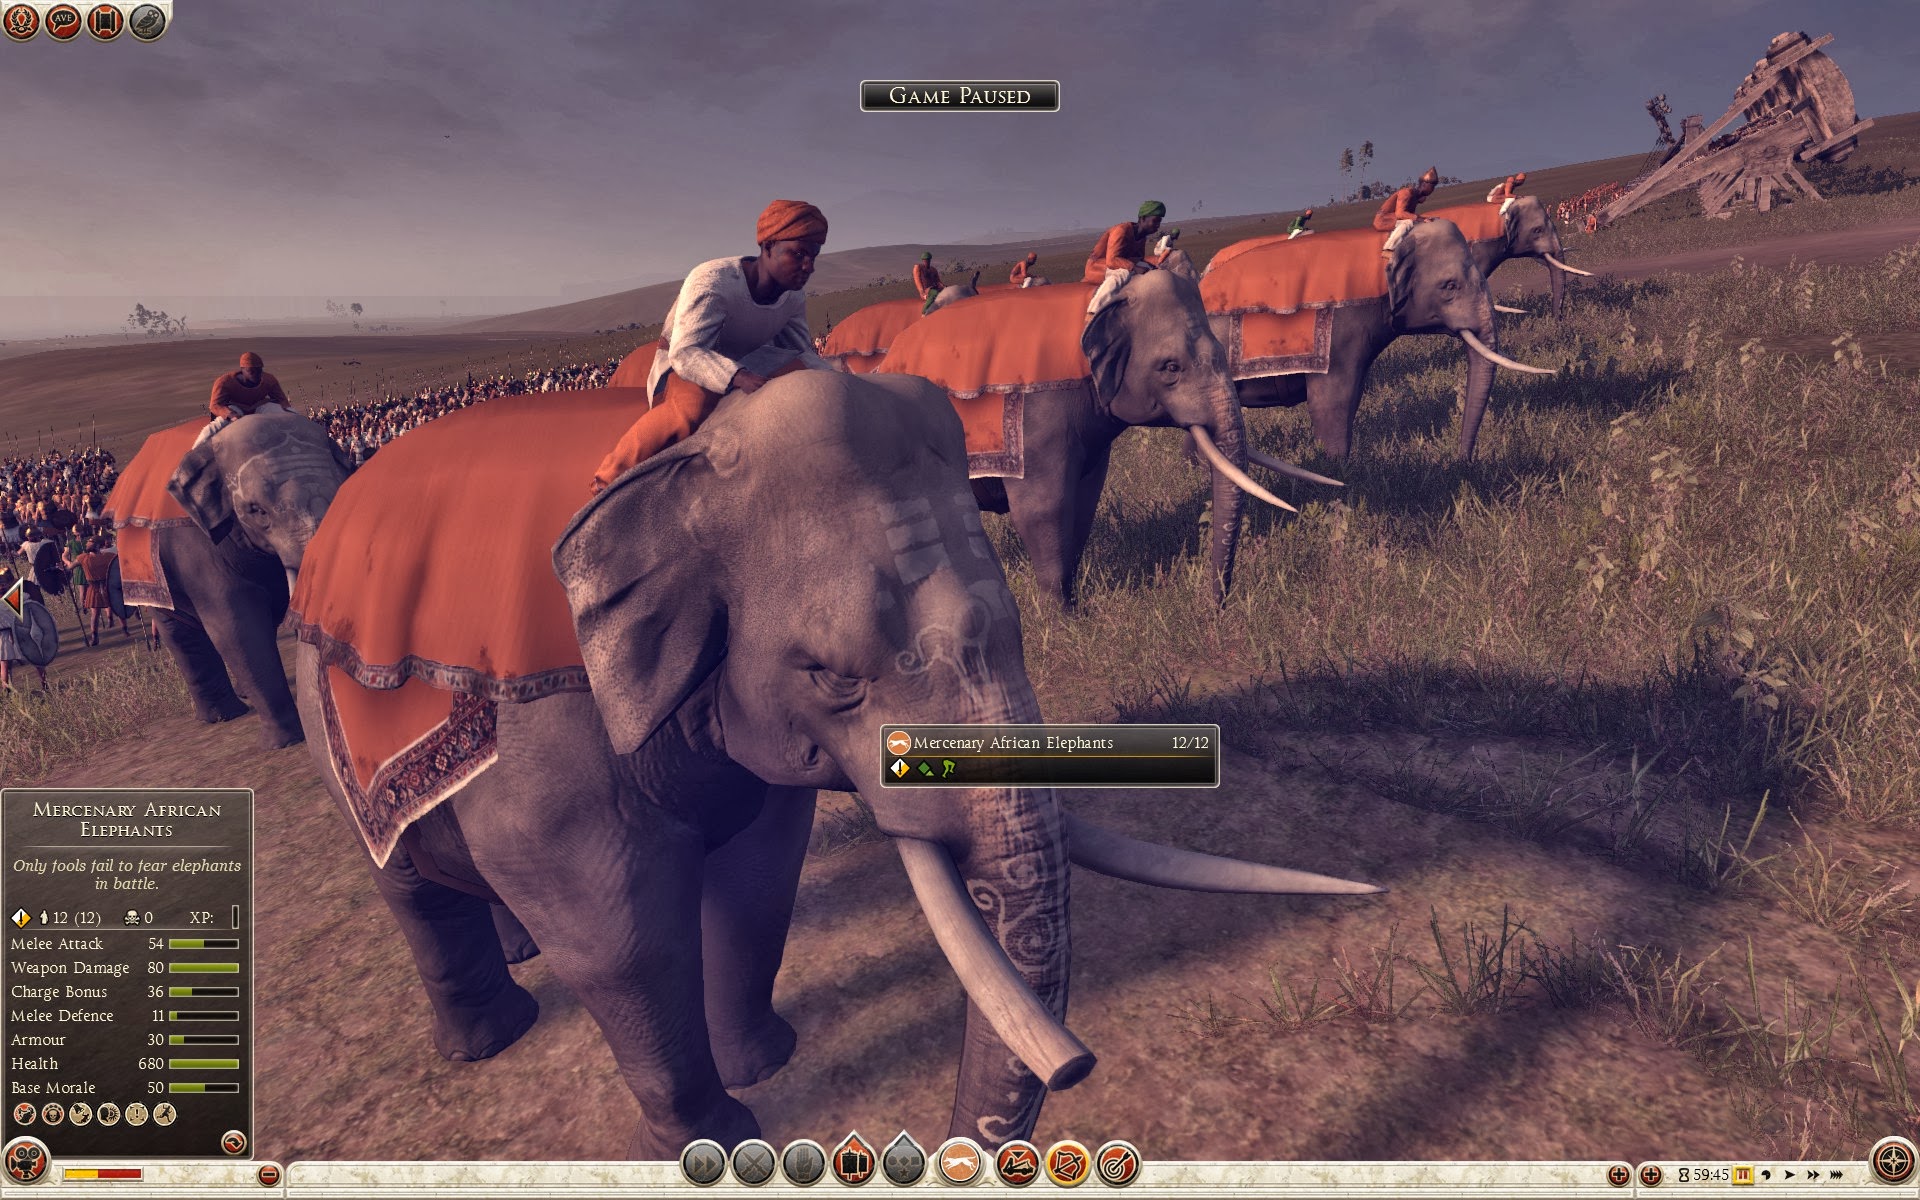
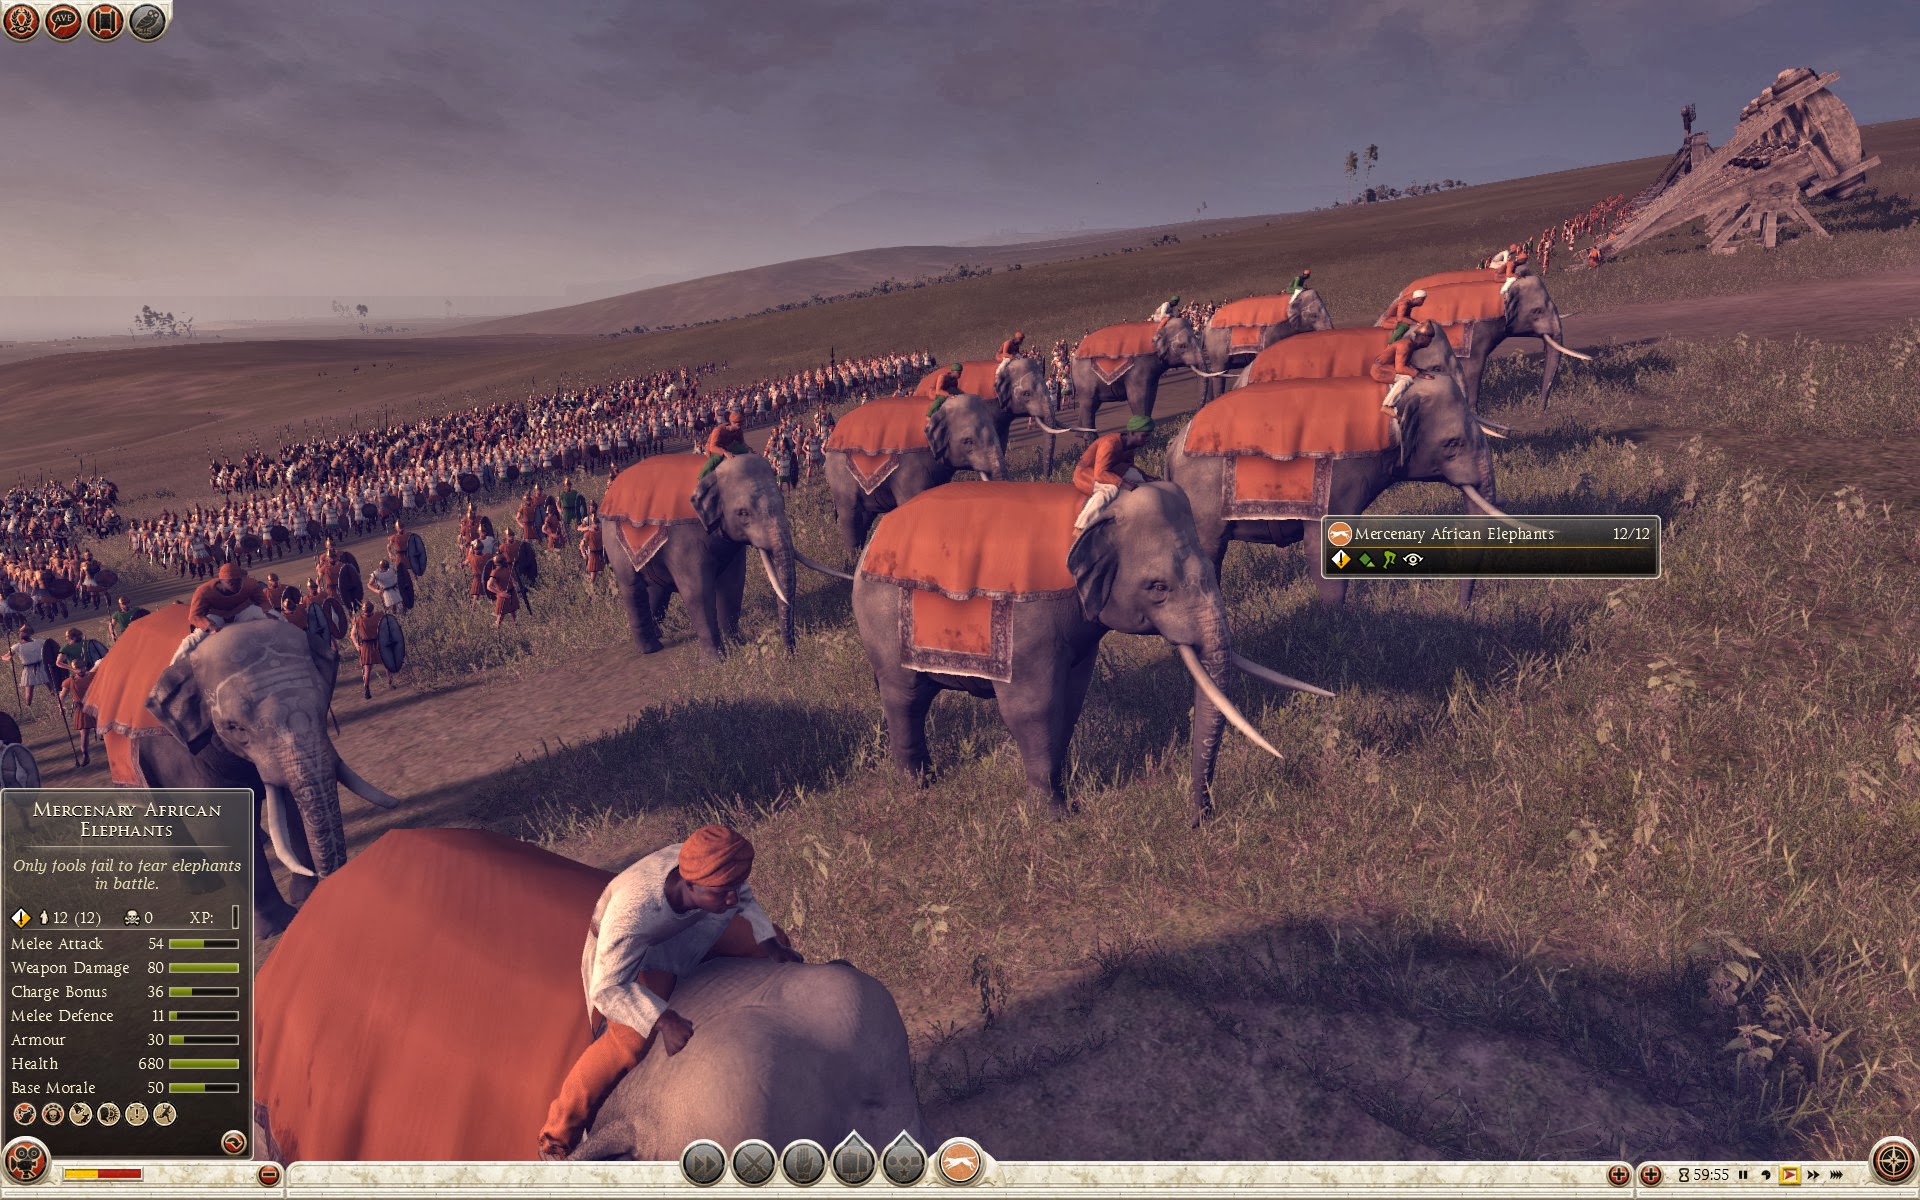
日本語非洲雇傭象兵
只有傻子才不會戰場上的大象。現已滅絕的非洲森林象比印度象要小一些。它們大約高2-2.5米,非常威風,會使沒有習慣於在戰場面對他們的敵人產生恐慌。迦太基人在公元前278年的西西里島與敘拉古大象戰鬥,俘獲並馴服了當地的大象,而沒有從印度引進更大的大象。不過,迦太基人雇傭了印度專家形成了當時最強大的大象軍團。公元前255年,在巴格斯達斯河,迦太基大象造成了很多傷亡,致使羅馬人在此後很多年都害怕與這種生物戰鬥。
繁體中文化: 巴哈姆特全軍破敵板
Unit Name 非洲雇傭象兵 |
Main Unit Key Mer_Afr_Elephants |
Land Unit Key Mer_Afr_Elephants |
Naval Unit Key pel_transport |
Soldiers 12 |
Category 大象 |
Class 大象 |
自定義戰鬥 價格 1200 |
募兵經費 800 |
Upkeep Cost 600 |
近戰 54 |
武器傷害 60 |
├ Melee Weapon tusks |
├ 近程傷害基地 30 |
├ 近戰法術傷害 30 |
├ Armour Piercing No |
├ 對抗騎兵加成 0 |
├ 對抗大象時有加成 0 |
└ 對抗步兵時有加成 0 |
衝鋒加成 36 |
近戰防禦 21 |
├ Base Defence 21 |
├ Shield none |
└ 盾牌防禦 0 |
甲胄 30 |
├ 甲胄 leather |
├ Armour Defence 30 |
└ 盾牌護甲 0 |
健康 905 |
├ Man Entity rome_infantry_medium |
├ Man Health 40 |
├ Bonus Hit Points 15 |
├ Mount african_elephant |
├ Mount Entity elephant |
└ Mount Health 850 |
基礎士氣 50 |
技能
非洲雇傭象兵- 殺死大象
驅象者將用金屬刺殺死大象。只能在混戰中使用。 - 奔襲
衝鋒在更長時間內威力增強。
衝鋒加成
屬性
- 強力擊退
該單位在將敵軍擊退時可以造成額外傷害。 - 抵抗高溫
該單位在沙漠中不易疲勞。 - 瘋狂砍殺
該單位在壓力之下可以瘋狂砍殺。 - 恐嚇(所有單位)
該單位可以恐嚇所有單位。 - 恐懼免疫
該單位對恐懼效果免疫。
優點和弱點
Transport- 船體強度非常低
- 速度非常慢
- 衝撞能力弱
- 很好的衝鋒能力
- 高傷害
- 血量很高
- 士氣一般
Empire Divided 雇傭兵 Pool
| 雇傭兵 Pool | |||||||
|---|---|---|---|---|---|---|---|
|
|
|||||||
| No. | Pool | Province | Region | Initial Unit Count | Chance To Replenish | Max Replenish Per Turn | Max Count |
| 1 | rom_province_pool_libya | Libya |
Ammonium Augila Cyrene Paraitonion |
0 | 0.75 | 1 | 2 |
| 2 | rom_province_pool_phazania | Phazania |
Cydamus Garama |
0 | 0.75 | 1 | 2 |
| 3 | rom_province_pool_aethiopia | Aethiopia |
Aksum Meroe Ptolemais Theron |
0 | 0.75 | 1 | 2 |
Grand Campaign 雇傭兵 Pool
| 雇傭兵 Pool | |||||||
|---|---|---|---|---|---|---|---|
|
|
|||||||
| No. | Pool | Province | Region | Initial Unit Count | Chance To Replenish | Max Replenish Per Turn | Max Count |
| 4 | rom_province_pool_libya | 利比亞 |
昔蘭尼 帕拉托尼昂 奧吉拉 艾蒙納姆 |
0 | 0.75 | 1 | 2 |
| 5 | rom_province_pool_phazania | 費沙 |
西達木斯 克拉瑪 |
0 | 0.75 | 1 | 2 |
| 6 | rom_province_pool_aethiopia | Aethiopia |
阿克蘇姆 麥羅埃 多利買·西倫 |
0 | 0.75 | 1 | 2 |
Hannibal at the Gates 雇傭兵 Pool
| 雇傭兵 Pool | |||||||
|---|---|---|---|---|---|---|---|
|
|
|||||||
| No. | Pool | Province | Region | Initial Unit Count | Chance To Replenish | Max Replenish Per Turn | Max Count |
| 7 | pun_province_pool_africa | Africa |
Capsa Carthago Hadrumentum |
0 | 0.4 | 1 | 2 |
| 8 | pun_province_pool_numidia | Numidia |
Cirta Hippo Regius Iol Sitifi |
0 | 0.4 | 1 | 2 |
| Total War: Rome II |
|---|
|
Total War: Rome II > |
| 派系 |
| 部隊 |
| 自定義戰鬥 部隊 |
| 建築 |
| 科技 |
| Household |
| Skills & Traditions |
| Army New!! |
| 領地 |
| 雇傭兵 |
| 雇傭兵 Map New!! |
| 人物特性 New!! |
| 比較 部隊 New!! |

| Egypt (Imperator Augustus) 部隊 |
|---|
| 主將 (7) |
1. |
2. |
3. |
4. |
5. |
6. |
7. |
| 近戰步兵 (9) |
8. |
9. |
10. |
11. |
12. |
14. |
15. |
16. |
| 遠程步兵 (6) |
17. |
18. |
19. |
20. |
21. |
22. |
| 槍步兵 (4) |
23. |
24. |
25. |
26. |
| 矛步兵 (3) |
27. |
28. |
29. |
| 近戰騎士 (4) |
30. |
31. |
32. |
33. |
| 遠程騎兵 (3) |
34. |
35. |
36. |
| 突擊騎兵 (1) |
37. |
| 戰車 (1) |
38. |
| 大象 (2) |
39. |
40. |
| 固定拋射武器 (4) |
41. |
42. |
43. |
44. |
| 野戰拋射武器 (6) |
45. |
46. |
47. |
48. |
49. |
50. |
| 旗艦 (2) |
| 近戰艦船 (5) |
| 弓箭船 (6) |
| 拋射武器船 (2) |
Athenae
 Rome (Empire Divided)
Gortyna
Rome (Empire Divided)
Sparta
Rome (Empire Divided)
Alexandria
 Egypt (Empire Divided)
Diospolis
Egypt (Empire Divided)
Memphis
Egypt (Empire Divided)
Myos Hormos
Egypt (Empire Divided)
Aksum
 Axum (Empire Divided)
Meroe
 Meroe (Empire Divided)
Ptolemais Theron
 Blemmyes (Empire Divided)
Carthago
Rome (Empire Divided)
Hadrumentum
Rome (Empire Divided)
Leptis Magna
Rome (Empire Divided)
Macomades
Rome (Empire Divided)
Burdigala
 Gallic Rome (Empire Divided)
Gergovia
Gallic Rome (Empire Divided)
Limonum
Gallic Rome (Empire Divided)
Eudaemon
 Himyar (Empire Divided)
Maas-gat
 Mascat (Empire Divided)
Marib
 Saba (Empire Divided)
Adummatu
 Lakhmids (Empire Divided)
Gerrha
 Gerrhea (Empire Divided)
Yathrib
 Ma'In (Empire Divided)
Amul
 Margiana (Empire Divided)
Artacoana
Margiana (Empire Divided)
Merv
Margiana (Empire Divided)
Arsamosata
 Armenia (Empire Divided)
Artaxa
Armenia (Empire Divided)
Carana
Armenia (Empire Divided)
Tigranocerta
Armenia (Empire Divided)
Ephesus
 Lydia (Empire Divided)
Pergamon
Lydia (Empire Divided)
Pessinus
Lydia (Empire Divided)
Rhodos
Lydia (Empire Divided)
Baktria
 Baktria (Empire Divided)
Eucratides
Baktria (Empire Divided)
Kapisene
Baktria (Empire Divided)
Corduba
 Lusitania (Empire Divided)
Gades
Lusitania (Empire Divided)
Toletum
 Hispania Citerior (Empire Divided)
Nemecatum
Gallic Rome (Empire Divided)
Treverorum
Gallic Rome (Empire Divided)
Amaseia
Lydia (Empire Divided)
Nicomedia
Lydia (Empire Divided)
Sinope
Lydia (Empire Divided)
Trapezos
Lydia (Empire Divided)
Panticapaeum
 Bosporou (Empire Divided)
Phanagoria
Bosporou (Empire Divided)
Tanais
Bosporou (Empire Divided)
Camulodunum
 Britannia (Empire Divided)
Isca
Britannia (Empire Divided)
Mordiunon
Britannia (Empire Divided)
Sleaford
Britannia (Empire Divided)
Bam
 The Sassanids (Empire Divided)
Harmozia
The Sassanids (Empire Divided)
Gabala
 Ardhan (Empire Divided)
Mtskheta
 Kartli (Empire Divided)
Phasis
 Colchis (Empire Divided)
Akhur
 Dahae (Empire Divided)
Aktau
Dahae (Empire Divided)
Genua
 Roman Pretenders (Empire Divided)
Mediolanum
Roman Pretenders (Empire Divided)
Patavium
Roman Pretenders (Empire Divided)
Aleria
Roman Pretenders (Empire Divided)
Caralis
Roman Pretenders (Empire Divided)
Pelendava
 Roxolani (Empire Divided)
Petrodava
 Gothi (Empire Divided)
Piscul
Roxolani (Empire Divided)
Zarmizegetusa
Rome (Empire Divided)
Ancyra
 Galatia (Empire Divided)
Iconium
Galatia (Empire Divided)
Mazaca
Galatia (Empire Divided)
Side
Galatia (Empire Divided)
Bibracte
Gallic Rome (Empire Divided)
Cenabum
Gallic Rome (Empire Divided)
Darioritum
Gallic Rome (Empire Divided)
Iuliobana
Gallic Rome (Empire Divided)
Oraea
 Sakastan (Empire Divided)
Phrada
Sakastan (Empire Divided)
Pura
Sakastan (Empire Divided)
Bavay
Gallic Rome (Empire Divided)
Vesonto
Gallic Rome (Empire Divided)
Bergium
 Alemanni (Empire Divided)
Budorgis
 Marcomanni (Empire Divided)
Istros
 Quadi (Empire Divided)
Ibossim
Hispania Citerior (Empire Divided)
Nova Carthago
Hispania Citerior (Empire Divided)
Numantia
Hispania Citerior (Empire Divided)
Saguntum
Hispania Citerior (Empire Divided)
Dyrrachium
Rome (Empire Divided)
Narona
Rome (Empire Divided)
Salona
Rome (Empire Divided)
Beneventum
Roman Pretenders (Empire Divided)
Brundisium
Roman Pretenders (Empire Divided)
Cosentia
Roman Pretenders (Empire Divided)
Jerusalem
 Palmyra (Empire Divided)
Salamis
Palmyra (Empire Divided)
Tyros
Palmyra (Empire Divided)
Ariminium
Roman Pretenders (Empire Divided)
Arretium
Roman Pretenders (Empire Divided)
Asculum
Roman Pretenders (Empire Divided)
Roma
Roman Pretenders (Empire Divided)
Ammonium
Egypt (Empire Divided)
Augila
 Nasamones (Empire Divided)
Cyrene
Rome (Empire Divided)
Paraitonion
Egypt (Empire Divided)
Arsenium
 Vandali (Empire Divided)
Carrodunum
Vandali (Empire Divided)
Grinev
 Buri (Empire Divided)
Oblin
 Nahanarvali (Empire Divided)
Ebora
Lusitania (Empire Divided)
Olisipo
Lusitania (Empire Divided)
Apollonia
Rome (Empire Divided)
Pharsalus
Rome (Empire Divided)
Thessalonica
Rome (Empire Divided)
Flevium
 Franci (Empire Divided)
Treva
 Saxoni (Empire Divided)
Tulifurdum
 Langobardi (Empire Divided)
Rutubis
 Mauri (Empire Divided)
Siga
 Mauretania (Empire Divided)
Tingis
Mauretania (Empire Divided)
Arsakia
The Sassanids (Empire Divided)
Ekbatana
 Media (Empire Divided)
Gazaca
Media (Empire Divided)
Phraaspa
Media (Empire Divided)
Charax
The Sassanids (Empire Divided)
Ctesiphon
The Sassanids (Empire Divided)
Edessa
Palmyra (Empire Divided)
Hatra
The Sassanids (Empire Divided)
Charmuthas
 Nabataea (Empire Divided)
Hegra
Nabataea (Empire Divided)
Petra
Palmyra (Empire Divided)
Massilia
Gallic Rome (Empire Divided)
Narbo
Gallic Rome (Empire Divided)
Tolosa
Gallic Rome (Empire Divided)
Capsa
 Numidia (Empire Divided)
Cirta
Numidia (Empire Divided)
Dimmidi
Numidia (Empire Divided)
Iol
Numidia (Empire Divided)
Dura
Palmyra (Empire Divided)
Palmyra
Palmyra (Empire Divided)
Aquincum
Rome (Empire Divided)
Segestica
Rome (Empire Divided)
Singidun
Rome (Empire Divided)
Hekatompylos
The Sassanids (Empire Divided)
Nisa
The Sassanids (Empire Divided)
Susia
The Sassanids (Empire Divided)
Zadrakata
The Sassanids (Empire Divided)
Gor
The Sassanids (Empire Divided)
Persepolis
The Sassanids (Empire Divided)
Susa
The Sassanids (Empire Divided)
Cydamus
 Garamantia (Empire Divided)
Garama
Garamantia (Empire Divided)
Eilodon
 Caledonii (Empire Divided)
Elbana
 Ebdani (Empire Divided)
Stanwick
Britannia (Empire Divided)
Kelheim
Gallic Rome (Empire Divided)
Koria
Gallic Rome (Empire Divided)
Noreia
Rome (Empire Divided)
Octoduris
Gallic Rome (Empire Divided)
Melgunov
Gothi (Empire Divided)
Olbia
Gothi (Empire Divided)
Solokha
 Heruli (Empire Divided)
Gelonus
 Alani (Empire Divided)
Samandar
Alani (Empire Divided)
Sarai
 Iastae (Empire Divided)
Siracena
Alani (Empire Divided)
Agrigentum
Roman Pretenders (Empire Divided)
Panormus
Roman Pretenders (Empire Divided)
Syracuse
Roman Pretenders (Empire Divided)
Calancorum
 Semnones (Empire Divided)
Pelplin
 Rugii (Empire Divided)
Setidava
 Burgundii (Empire Divided)
Virunium
 Varini (Empire Divided)
Antioch
Palmyra (Empire Divided)
Samosata
Palmyra (Empire Divided)
Tarsus
Palmyra (Empire Divided)
Thapsacus
Palmyra (Empire Divided)
Aracillum
Hispania Citerior (Empire Divided)
Brigantium
Lusitania (Empire Divided)
Tarraco
Hispania Citerior (Empire Divided)
Terra Incognita
![]()
Antheia
Rome (Empire Divided)
Naissos
Rome (Empire Divided)
Odessos
Rome (Empire Divided)
Pulpudeva
Rome (Empire Divided)
Bukhara
 Kwarezm (Empire Divided)
Maracanda
Baktria (Empire Divided)
米奧斯賀而莫斯
 埃及
埃及
孟斐斯
埃及
亞歷山大
埃及
狄奧斯波里
埃及
薩普蘇斯
 利比亞
利比亞
麥卡梅茲
利比亞
雷蒲賽斯
利比亞
迦太基
 迦太基
迦太基
阿克蘇姆
阿克蘇姆
麥羅埃
 麥羅埃
麥羅埃
多利買·西倫
布雷米斯
布爾第加拉
 維維西
維維西
奈莫索斯
 阿維爾尼
阿維爾尼
里蒙
 皮克頓
皮克頓
亞丁
赫米葉爾
馬斯河航道
馬斯喀特
馬里布
賽伯伊
格拉
傑拉西亞
阿杜馬圖
 基得里
基得里
雅斯里布
馬殷
亞歷山大阿拉科西亞
 阿拉霍西亞
阿拉霍西亞
卡皮賽訥
阿拉霍西亞
阿塔考納
 阿里亞
阿里亞
弗拉達
 沙加迪亞
沙加迪亞
梅爾夫
阿里亞
亞馬維爾
亞美尼亞
圖斯帕
亞美尼亞
阿薩莫薩塔
亞美尼亞
以弗所
 薩第斯
薩第斯
帕加馬
 帕加馬
帕加馬
培希努
薩第斯
羅德斯島
 羅德斯島
羅德斯島
巴里黑
 巴克特里亞
巴克特里亞
尤克拉蒂迪亞
巴克特里亞
卡圖巴
 圖爾德泰尼
圖爾德泰尼
伽地拉
 新迦太基
新迦太基
大特瑞維累
 泰維西
泰維西
耐莫托塞那
 阿特瑞巴提斯
尼科米底亞
 比提尼亞
比提尼亞
錫諾普
 本都
本都
阿馬塞亞
本都
特拉伯佐
 特拉伯佐
特拉伯佐
塔奈斯
 西米里
西米里
法納戈里亞
西米里
潘迪卡彭
西米里
艾博瑞肯
 布里根特叛軍
卡姆洛杜努姆
 愛西尼
愛西尼
莫里敦農
 德梅泰
德梅泰
艾斯卡
 杜莫尼
杜莫尼
埃爾頓
 喀里多尼斯
喀里多尼斯
埃布拉納
 愛伯塔尼
愛伯塔尼
拜姆
沙加迪亞
哈莫斯亞
 德蘭吉安那
德蘭吉安那
艾博思姆
迦太基
卡特戴施特
迦太基
努曼提亞
 阿雷瓦西
阿雷瓦西
阿爾斯
 埃德塔尼
埃德塔尼
甘巴拉
雅登漢
斐西斯
科爾基斯
姆茨赫塔
卡爾提力
納姆涅敦
 南姆內特斯
南姆內特斯
比布拉克特
 埃杜維人
埃杜維人
欽那布姆
 卡紐特
卡紐特
凱斯
 呼羅珊
呼羅珊
阿姆
大益
塔爾蘇斯
 塞琉古
塞琉古
薩拉米斯
 塞浦路斯島
塞浦路斯島
賽德
塞浦路斯島
米蘭
 因蘇布雷
因蘇布雷
熱那亞
 利古利亞
利古利亞
帕多瓦
 威尼蒂
威尼蒂
阿拉里亞
 伊特魯西亞同盟
卡拉莉斯
迦太基
派垂達瓦
 巴斯塔奈戰士
馬爾瓦
 加泰
加泰
扎密澤戈圖薩
 畢披
畢披
馬薩卡
 卡帕多西亞
卡帕多西亞
薩莫薩塔
卡帕多西亞
安卡拉
 加拉太
加拉太
以哥念
薩第斯
普拉
德蘭吉安那
奧爾馬拉港
德蘭吉安那
拜戈科姆
 內爾維
內爾維
維森奇奧
 西誇尼叛軍
西誇尼叛軍
雅典
 雅典
雅典
希厄拉庇特那
 克諾索斯
克諾索斯
斯巴達
 斯巴達
斯巴達
凱瑟傑斯
 波伊叛軍
波伊叛軍
艾斯特若斯
波伊叛軍
多米諾
 道爾西
道爾西
埃皮達穆斯
 阿爾迪安
阿爾迪安
亞德爾
 達馬太
達馬太
維拉斯瑞
伊特魯西亞同盟
羅馬
 羅馬
羅馬
亞里米倫
伊特魯西亞同盟
那不勒斯
羅馬
昔蘭尼
 昔蘭尼加
昔蘭尼加
帕拉托尼昂
昔蘭尼加
奧吉拉
納撒摩涅司
艾蒙納姆
昔蘭尼加
伊波拉
 凱爾特
凱爾特
歐里西波
 琉息太尼亞
琉息太尼亞
阿波羅尼亞
 伊庇魯斯
伊庇魯斯
培拉
 馬其頓
馬其頓
拉里薩
伊庇魯斯
夫利佛蘭
 弗里西
弗里西
裘利方丹
 切魯西
切魯西
尤本瑞茲斯
馬科曼尼
克森迪亞
羅馬
布林迪西
羅馬
利利俾
迦太基
敘拉古
 敘拉古
敘拉古
米格多勒
 蓋圖里
蓋圖里
狄米迪
 馬塞西里
馬塞西里
艾奧
新迦太基
丹吉爾
新迦太基
格沙卡
米迪亞·阿特羅帕特尼
埃克巴塔那
米迪亞·阿特羅帕特尼
剌伽
 波斯
波斯
哈特拉
 米底亞
米底亞
塞琉西亞
米底亞
卡拉克斯
米底亞
埃德薩
塞琉古
查姆塞斯
納巴提阿
耶路撒冷
埃及
佩特拉
埃及
黑格拉
納巴提阿
辛吉頓
 斯克迪斯基叛軍
塞吉斯提卡
 布雷西叛軍
布雷西叛軍
俄肯克
 埃拉維斯契
埃拉維斯契
尼撒
 帕提亞
帕提亞
斯卓科塔
 帕薩瓦
帕薩瓦
赫卡托皮羅斯
帕薩瓦
蘇西阿
帕薩瓦
蘇撒
波斯
戈爾
波斯
波斯波利斯
波斯
西達木斯
葛拉瑪提亞
克拉瑪
葛拉瑪提亞
索拉克哈
 皇家斯基台
皇家斯基台
賽曼德爾
 阿速
阿速
奧爾比亞
 迦地亞羅
迦地亞羅
賽瑞瑟那
 薩爾可斯
薩爾可斯
托羅薩
 沃爾卡
沃爾卡
馬薩莉亞
 馬賽
馬賽
奧克特德倫
 赫爾維提
赫爾維提
諾里亞
 諾里
諾里
科利亞
 雷蒂
雷蒂
蒙斯·瑞傑斯
 艾斯提
艾斯提
加里奇
 阿納爾提
阿納爾提
土耳其
 布迪尼
布迪尼
蓋洛努斯
羅科索拉尼
薩萊
杜薩蓋塔伊
阿克套
 馬薩格泰
馬薩格泰
貝爾茲
 魯吉
魯吉
布多吉斯
魯吉
阿斯科克拉斯
 哥德
哥德
阿拉布
 辛布里
辛布里
拉普弗德姆
蘇維匯
呂根島
拉吉伊
帕米拉
塞琉古
杜拉
塞琉古
泰洛斯
塞琉古
安條克
塞琉古
布里甘蒂
 加萊基
加萊基
阿瑞西魯姆
 坎特伯雷
坎特伯雷
塔拉克
 凱賽塔尼
凱賽塔尼
未知領域
![]()
安西亞
 泰里斯
泰里斯
納為索斯
 特里巴利
特里巴利
奧德索斯
 奧德西亞王國
坡普迪瓦
馬其頓
布哈拉
巴克特里亞
馬拉坎達
巴克特里亞
Capsa
 Massyli (Hannibal at the Gates)
Carthago
Carthage (Hannibal at the Gates)
Hadrumentum
Carthage (Hannibal at the Gates)
Burdigala
 Tarbelli (Hannibal at the Gates)
Iruna
 Vascones (Hannibal at the Gates)
Libisosa
 Oretani (Hannibal at the Gates)
Numantia
Arevaci (Hannibal at the Gates)
Toletum
 Carpetani (Hannibal at the Gates)
Alalia
Rome (Hannibal at the Gates)
Karalis
Rome (Hannibal at the Gates)
Olbia
Rome (Hannibal at the Gates)
Arretium
Etruscan League (Hannibal at the Gates)
Pisae
Rome (Hannibal at the Gates)
Tarquinii
Etruscan League (Hannibal at the Gates)
Asturica
 Astures (Hannibal at the Gates)
Lugos
Gallaeci (Hannibal at the Gates)
Pallantia
 Vaccaei (Hannibal at the Gates)
Portus Amanum
Cantabri (Hannibal at the Gates)
Genua
Liguria (Hannibal at the Gates)
Patavium
Veneti (Hannibal at the Gates)
Placentia
 Boii (Hannibal at the Gates)
Vercellae
Insubres (Hannibal at the Gates)
Lugdunum
 Allobroges (Hannibal at the Gates)
Massilia
Massilia (Hannibal at the Gates)
Nemausus
Volcae (Hannibal at the Gates)
Tolosa
Volcae (Hannibal at the Gates)
Cissis
Cessetani (Hannibal at the Gates)
Emporiae
 Emporion (Hannibal at the Gates)
Ilerda
 Illergetes (Hannibal at the Gates)
Salduba
 Illercavones (Hannibal at the Gates)
Carthago Nova
Carthage (Hannibal at the Gates)
Ibossim
Carthage (Hannibal at the Gates)
Ilici
Carthage (Hannibal at the Gates)
Saguntum
Carthage (Hannibal at the Gates)
Capua
Rome (Hannibal at the Gates)
Roma
Rome (Hannibal at the Gates)
Tarracina
Rome (Hannibal at the Gates)
Ebora
Celtici (Hannibal at the Gates)
Helmantica
 Vettones (Hannibal at the Gates)
Olisipo
Lusitani (Hannibal at the Gates)
Buxentum
 Samnites (Hannibal at the Gates)
Croton
Rome (Hannibal at the Gates)
Tarentum
Rome (Hannibal at the Gates)
Thurii
Rome (Hannibal at the Gates)
Rutubis
Gaetuli (Hannibal at the Gates)
Siga
Masaesyli (Hannibal at the Gates)
Tingis
Carthage (Hannibal at the Gates)
Volubilis
Mauri (Hannibal at the Gates)
Cirta
Massyli (Hannibal at the Gates)
Hippo Regius
Carthage (Hannibal at the Gates)
Iol
Carthage (Hannibal at the Gates)
Sitifi
Masaesyli (Hannibal at the Gates)
Barium
Samnites (Hannibal at the Gates)
Beneventum
Samnites (Hannibal at the Gates)
Sipontum
Samnites (Hannibal at the Gates)
Lilybaeum
Rome (Hannibal at the Gates)
Messana
Rome (Hannibal at the Gates)
Syracuse
Syracuse (Hannibal at the Gates)
Terra Incognita
![]()
Leptis Magna
Libya (Hannibal at the Gates)
Tacapae
Libya (Hannibal at the Gates)
Thenteos
Garamantia (Hannibal at the Gates)
Turris Tamalleni
Garamantia (Hannibal at the Gates)
Gades
Carthage (Hannibal at the Gates)
Kartuba
Turdetani (Hannibal at the Gates)
Ancona
Rome (Hannibal at the Gates)
Corfinium
Rome (Hannibal at the Gates)
Pisaurum
Rome (Hannibal at the Gates)
Spoletium
Etruscan League (Hannibal at the Gates)
Total War: Attila New!!
Factions
Units
Units in Custom Battle
Buildings
Technologies
Household
Regions
Mercenaries
Total War: Rome II
Factions
Units
Auxiliary Corps
Units in Custom Battle
Buildings
Technologies
Household
Regions
Mercenaries
Total War: Rome II: MODs
Radious Total War Mod
Divide et Impera
Total War: Rome II: ICONs
BullGod's Unit Icons
Normal's Rome II_Units Icons
Factions
Units
Units in Custom Battle
Buildings
Technologies
Household
Regions
Mercenaries
Total War: Rome II
Factions
Units
Auxiliary Corps
Units in Custom Battle
Buildings
Technologies
Household
Regions
Mercenaries
Total War: Rome II: MODs
Radious Total War Mod
Divide et Impera
Total War: Rome II: ICONs
BullGod's Unit Icons
Normal's Rome II_Units Icons
Total War: Shogun 2 Updated!!
Factions
Units
Shogun 2: Rise of the Samurai
Shogun 2: Fall of the Samurai
Napoleon: Total War
Factions
Units
Empire: Total War
Factions
Units
Factions
Units
Shogun 2: Rise of the Samurai
Shogun 2: Fall of the Samurai
Napoleon: Total War
Factions
Units
Empire: Total War
Factions
Units
Medieval II: Total War
Factions
Units
Army
Buildings
Mercenaries
Retinue
Traits
Regions
Ranking
Medieval II: Total War: Kingdoms
Medieval II - Americas
Medieval II - Britannia
Medieval II - Crusades
Medieval II - Tutonic
Factions
Units
Army
Buildings
Mercenaries
Retinue
Traits
Regions
Ranking
Medieval II: Total War: Kingdoms
Medieval II - Americas
Medieval II - Britannia
Medieval II - Crusades
Medieval II - Tutonic
Medieval II: Total War: MODs
Broken Crescent 1.05
Broken Crescent 2.02
Stainless Steel 5.1b
Stainless Steel 6.1
Deus Lo Vult 5.7
Deus Lo Vult 6.0
HTF: Eagle of the Elbe 05
The Long Road 2.0
Lands to Conquer Gold
DarthMod 1.4D: The Last Episode
Das Heilige Romische Reich 06
Third Age 1.3
Third Age 1.4
Third Age 2.1
Third Age 3.1